Decoding Your Hisense Washing Machine: A Guide to Understanding Error Codes
Seeing an error code flash on your Hisense washing machine can be frustrating. But don’t panic! These codes are actually helpful diagnostic tools designed to pinpoint potential problems. This guide will walk you through common Hisense washing machine error codes, explaining what they mean and providing straightforward troubleshooting steps you can try yourself before calling for service.
Important First Steps: Safety & Basic Checks
- Safety First! Before attempting any troubleshooting that involves accessing internal parts, always unplug your washing machine from the power outlet to prevent electrical shock.
- Consult Your Manual: Your specific Hisense model might have slight variations. Always refer to your user manual for model-specific information.
- Simple Reset: Sometimes, a temporary glitch can cause an error. Try turning off the washer, unplugging it for a few minutes, plugging it back in, and restarting the cycle.
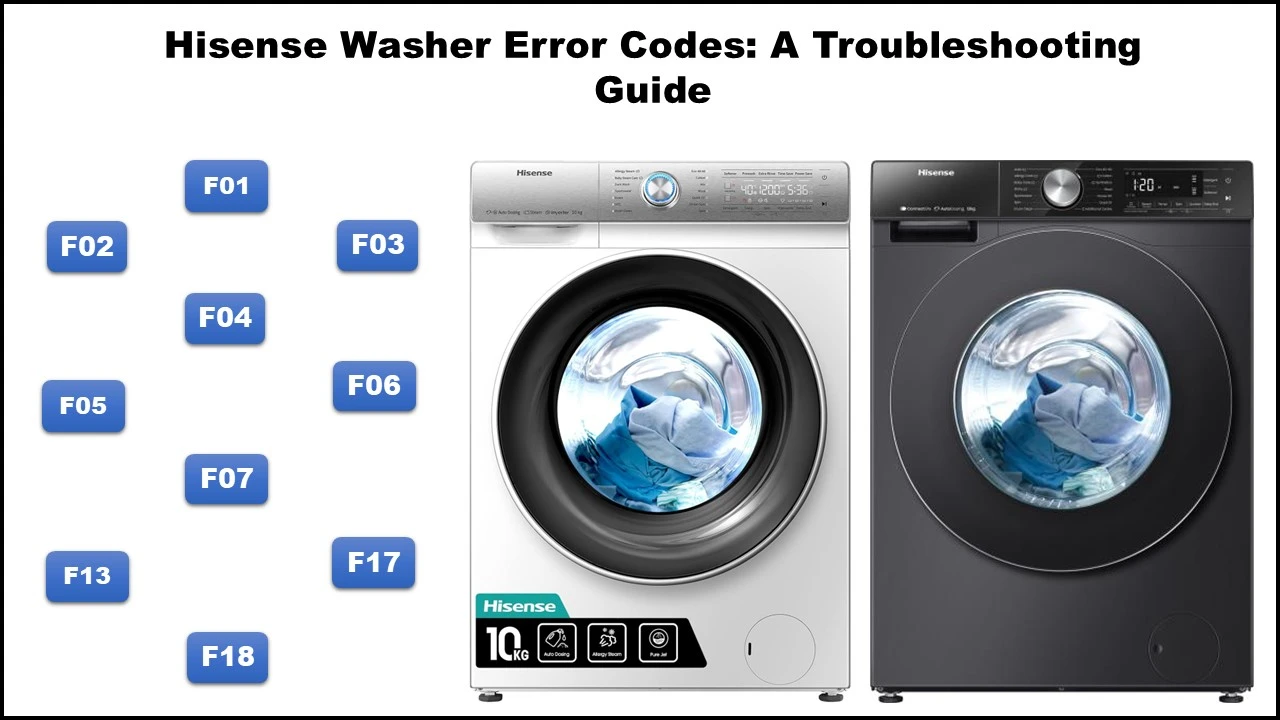
Hisense Washing Machine Error Codes: Summary Table
summary table for common Hisense washing machine error codes, their meanings, and key troubleshooting steps:
| Error Code | Meaning | Possible Causes | Key Troubleshooting Steps |
|---|---|---|---|
| F01 | Water Inlet Error | Low water pressure, clogged filter, faulty valve | Check water supply, inspect inlet hose, clean filter, verify valve resistance (~4KΩ/220V, ~0.9KΩ/120V). |
| F03 | Drainage Error | Clogged drain pump/filter, faulty pump | Clean drain filter, check hose for blockages, test pump resistance (~160-198Ω/220V, ~16Ω/120V). |
| F04 | Heating Error | Faulty heating element, wiring issues | Test heating element resistance (~26-30Ω/220V, ~18Ω/120V). Replace if readings are off. |
| F05 | Temperature Sensor (NTC) Error | Faulty sensor, wiring issues | Check sensor resistance (~9.7KΩ at 30°C). Replace if abnormal. |
| F06 | Motor Tachometer Error | Motor/tachometer failure, wiring issues | Test tachometer resistance (~103Ω) and motor windings. Replace motor if faulty. |
| F07 | Motor Control TRIAC Error | Main board failure, motor/tachometer issue | Check tachometer/motor first, but error usually indicates a faulty control board. |
| F13 | Door Lock Error | Door not closed, faulty lock mechanism | Ensure door is latched, test lock solenoid resistance (~900Ω). Replace lock if needed. |
| F15/F16 | Drying Temp. Sensor Error | Faulty sensor (outlet/return), wiring issues | Test sensor resistance (~6.8KΩ at 40°C). Replace sensor if readings are incorrect. |
| F17 | Drying Overheating Error | Overloading, poor ventilation, faulty sensor | Reduce load size, clean lint filters, verify sensor functionality. |
| F18 | Drying Fan Error | Fan motor failure, obstruction | Check fan wiring, test motor resistance (~5Ω per phase). Replace fan if faulty. |
| F22 | Motor Communication Failure | Inverter/main board issue, wiring problems | Inspect wiring harness. Professional diagnosis often needed for board replacement. |
| F23 | Pressure Sensor Error | Clogged tube, faulty sensor | Clear blockages in pressure tube, test sensor. Replace if defective. |
| F24 | Overflow Error | Stuck inlet valve, drain blockage | Check valve, drain system, and pressure sensor (see F01/F03/F23). |
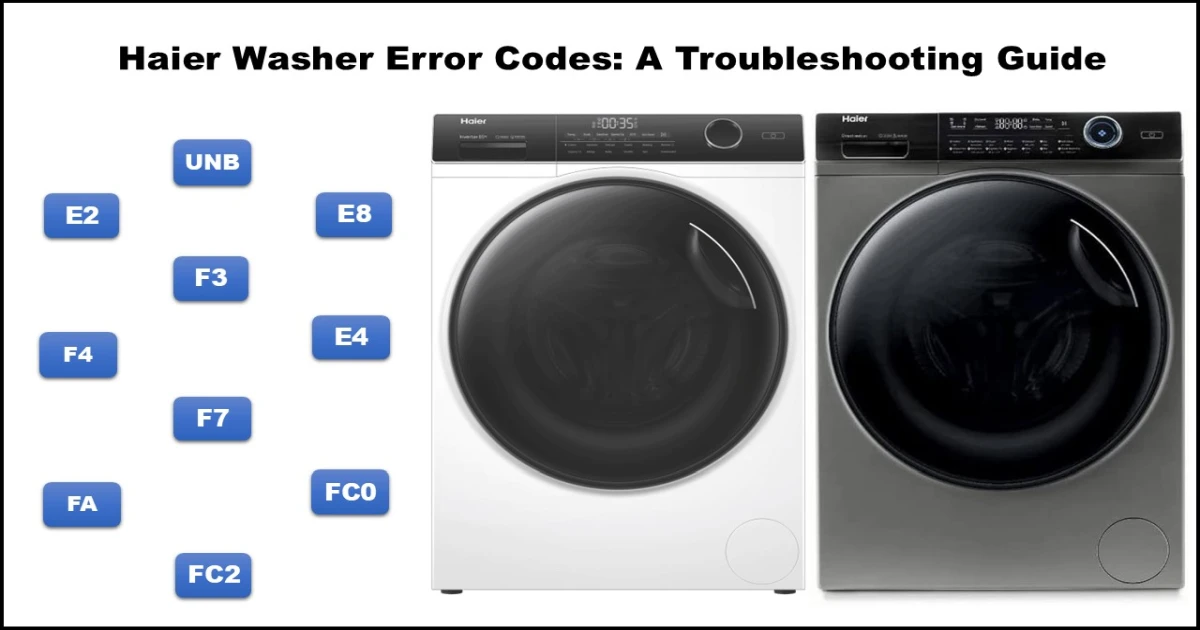
| UNB | Unbalance Error | Uneven load, machine not level | Redistribute clothes, ensure machine is level, avoid single bulky items. |
Common Hisense Washing Machine Error Codes Explained
Here’s a breakdown of frequent error codes and how to address them:
F01: Water Inlet Error
- What it Means: The machine isn’t filling with enough water within the expected time (usually around 4 minutes).
- Possible Causes: Water supply issues, blockages, or problems with the inlet valve.
- Troubleshooting Steps:
- Check Water Supply: Ensure the water tap connected to the washer is fully turned on.
- Verify Water Pressure: Make sure your home’s water pressure is adequate. Low pressure can slow filling.
- Inspect Inlet Hose: Check for kinks or bends in the water inlet hose that could restrict flow.
- Clean Inlet Filter: Disconnect the hose from the machine (after turning off the tap!) and check the small filter screen inside the inlet valve connection point on the washer. Clean any debris.
- Check Drain Hose Height: Ensure the end of the drain hose isn’t too low (causing siphoning) or too high (hindering operation). It should generally be positioned 60-100 cm (approx. 24-39 inches) from the floor level.
- (Advanced): Check wiring between the inlet valve and the main control board. Test the inlet valve’s resistance (typically ~4 KΩ for 220V models, ~0.9 KΩ for 120V models). If resistance is incorrect (e.g., reads near zero or infinite/OL), the valve likely needs replacement.
- If Problem Persists: If none of these steps work, the issue might be with the water inlet valve itself or the main control board. Professional service may be required.
F03: Drainage Error
- What it Means: The washer failed to drain the water completely within the allotted time (often around 6 minutes).
- Possible Causes: Blocked drain filter or hose, faulty drain pump.
- Troubleshooting Steps:
- Clean the Drain Pump Filter: This is the most common cause. Locate the filter (usually behind a small door at the bottom front of the machine). Place a shallow tray and towel underneath, unscrew the filter, and clean out any lint, coins, or debris.
- Inspect Drain Hose: Check for kinks, clogs, or obstructions in the drain hose. Ensure it’s not inserted too far into the standpipe, which can block airflow.
- (Advanced): Check wiring connections between the drain pump and the main board. Test the drain pump coil resistance (typically ~160-198 Ω for 220V models, ~16 Ω for 120V models). An incorrect reading suggests a faulty pump.
- If Problem Persists: The drain pump may need replacement, or there could be an issue with the main control board. Contact a technician.
F04: Heating Error
- What it Means: There’s a problem with the water heating system; the water isn’t reaching the target temperature.
- Possible Causes: Faulty heating element, wiring issues.
- Troubleshooting Steps:
- (Advanced): Check wiring connections between the heating element and the main board for damage or looseness.
- (Advanced): Measure the resistance of the heating element (typically ~26-30 Ω for 220V models, ~18 Ω for 120V models). If the reading is significantly off (near zero or infinite/OL), the heater needs replacement.
- If Problem Persists: This usually requires replacing the heating element or potentially the main control board. Professional service is recommended.
F05: Water Temperature Sensor (NTC) Error
- What it Means: The temperature sensor (NTC) is providing readings outside the expected range, suggesting it’s faulty.
- Possible Causes: Sensor malfunction, wiring problems.
- Troubleshooting Steps:
- (Advanced): Inspect wiring between the temperature sensor and the main board.
- (Advanced): Measure the resistance of the sensor. It changes with temperature, but a common reference is around 9.7 KΩ at 30°C (86°F). A drastically different reading indicates a faulty sensor.
- If Problem Persists: The sensor likely needs replacement, or the main board could be at fault.
F06: Motor Tachometer Error
- What it Means: The control board isn’t receiving accurate speed signals from the motor’s tachometer (which monitors rotation speed).
- Possible Causes: Motor issue, tachometer fault, wiring connection problem.
- Troubleshooting Steps:
- (Advanced): Check wiring connections between the motor assembly (including the tachometer) and the main board.
- (Advanced): Measure the resistance of the tachometer coil (often around 103 Ω). An incorrect reading points to a faulty tachometer (often requiring motor replacement).
- (Advanced): Check the resistance values of the motor windings according to your model’s specifications (Rotor ~1.9 Ω, Stator Low Speed ~0.8 Ω, Stator Full Speed ~2.2 Ω are example values – check your service manual). Deviations suggest a faulty motor.
- If Problem Persists: The motor assembly or the main control board may need replacement.
F07: Motor Control TRIAC Error
- What it Means: The main board has detected a short circuit in the component (TRIAC) that controls the motor.
- Possible Causes: Internal main board failure, potentially related to the motor or tachometer.
- Troubleshooting Steps:
- (Advanced): Although the error points to the board, checking the tachometer resistance (~103 Ω) as per F06 can rule out related issues. A shorted/open tachometer could potentially trigger this, but the primary suspect is the board.
- If Problem Persists: This error almost always indicates a failure on the main control board, which will need replacement by a qualified technician.
F13: Door Lock Error
- What it Means: The machine detects the door isn’t securely closed and locked when trying to start a cycle. The “Door Open” light might flash.
- Possible Causes: Door not fully closed, obstruction, faulty lock mechanism, wiring issue.
- Troubleshooting Steps:
- Check the Door: Open and firmly close the door, ensuring no laundry is caught in the seal. Listen for the ‘click’ of the latch engaging.
- Inspect Lock Area: Check for any obstructions around the door latch and the lock mechanism on the machine frame.
- (Advanced): Examine the wiring connections between the door lock assembly and the main board.
- (Advanced): Measure the resistance of the door lock solenoid (often around 900 Ω between specific pins, e.g., 3 & 5). An incorrect reading suggests a faulty lock.
- If Problem Persists: The door lock assembly or the main control board may need replacement.
F15 / F16: Drying Temperature Sensor Errors (Washer-Dryer Models)
- What it Means: (F15: Outlet / F16: Return) The respective drying air temperature sensor (NTC) reading is out of range during a drying cycle.
- Possible Causes: Sensor failure, wiring problems.
- Troubleshooting Steps:
- (Advanced): Check wiring connections for both drying sensors (Outlet and Return) leading to the main board.
- (Advanced): Measure the resistance of the relevant sensor. Like the wash temperature sensor, resistance varies with temperature (e.g., ~6.8 KΩ at 40°C / 104°F is a typical reference). A bad reading indicates a faulty sensor.
- If Problem Persists: The faulty sensor or the main board likely needs replacement.
F17: Drying Overheating Error (Washer-Dryer Models)
- What it Means: The temperature during the drying cycle has exceeded safe limits.
- Possible Causes: Overloading, incorrect settings, poor ventilation, blocked airflow, faulty sensor.
- Troubleshooting Steps:
- Reduce Load Size: Overloading prevents proper airflow. Try drying smaller loads.
- Check Settings: Ensure you’re using the correct drying program for the fabric type. Avoid unnecessarily high heat settings.
- Allow Cool Down: If the machine overheated, let it cool down completely (at least 45 minutes) before trying again.
- Check Ventilation: Ensure the machine has adequate space around it for air circulation. High room temperature can contribute. Ensure lint filters (if applicable to your dryer section) are clean.
- Check Temperature Sensors: Perform checks as described for F15/F16. A faulty sensor might inaccurately report overheating or fail to regulate temperature correctly.
- If Problem Persists: There might be an issue with the heating element control, airflow pathway, or the main board.
F18: Drying Fan Error (Washer-Dryer Models)
- What it Means: The fan responsible for circulating air during the drying cycle isn’t working correctly.
- Possible Causes: Fan motor failure, obstruction, wiring issue.
- Troubleshooting Steps:
- (Advanced): Check wiring connections between the drying fan motor and the main board.
- (Advanced): Visually inspect the fan blades for obstructions or damage (access may be difficult).
- (Advanced): Measure the resistance of the fan motor windings (typically around 5 Ω per phase). Incorrect readings indicate a faulty fan motor.
- If Problem Persists: The drying fan motor assembly or the main control board likely needs replacement.
F22: Motor Communication Failure (Inverter Motors)
- What it Means: Communication issue between the main control board, the inverter board (which controls the sophisticated motor), and the motor itself.
- Possible Causes: Wiring harness problems, faulty inverter board, faulty main board.
- Troubleshooting Steps:
- (Advanced): Carefully inspect all wiring connections between the main board, inverter board, and motor. Ensure plugs are secure and wires aren’t damaged.
- If Problem Persists: This often requires professional diagnosis to determine if the inverter board or the main board is faulty. Replacement of one or both may be necessary.
F23: Pressure Sensor Error
- What it Means: There’s an issue with the pressure sensor (also called water level sensor), which detects how much water is in the drum.
- Possible Causes: Faulty sensor, blocked pressure tube, wiring issue.
- Troubleshooting Steps:
- (Advanced): Check the wiring connections between the pressure sensor and the main board.
- (Advanced): Locate the thin rubber or plastic tube running from the bottom of the tub area up to the pressure sensor. Disconnect it carefully (usually from the sensor end) and blow through it gently towards the tub to check for blockages (like detergent gunk). Check the tube itself for splits or holes.
- (Advanced): If the tube is clear and intact, the pressure sensor itself might be faulty and need replacement.
- If Problem Persists: The main control board could be the issue.
F24: Overflow Error (Often equivalent to F02 on some models)
- What it Means: The machine detects too much water in the drum (the overflow switch on the pressure sensor has been active for too long).
- Possible Causes: Inlet valve stuck open, faulty pressure sensor, drain problem preventing water removal.
- Troubleshooting Steps:
- Check Inlet Valve: After a cycle, listen carefully to see if water continues trickling into the drum when it shouldn’t be. If so, the water inlet valve might be stuck open and needs replacement.
- Check Drainage: Perform the troubleshooting steps for the F03 (Drainage Error) – a blocked drain can lead to overflow.
- Check Pressure Sensor System: Perform the checks for F23 (Pressure Sensor Error) – a faulty sensor or blocked tube might incorrectly signal an empty drum, causing overfilling.
- (Advanced): Check wiring to the inlet valve, drain pump, and pressure switch.
- If Problem Persists: Requires identifying the specific faulty component (inlet valve, pressure switch, drain pump, or main board).
UNB: Unbalance Error
- What it Means: The machine detected an unevenly distributed load during the spin cycle and couldn’t balance it properly, stopping the spin for safety.
- Possible Causes: Laundry clumped together, too small a load, too large/single bulky item, machine not level.
- Troubleshooting Steps:
- Redistribute Load: Open the door and manually rearrange the clothes more evenly inside the drum. Avoid washing single heavy items (like a bathmat) alone.
- Adjust Load Size: Very small loads can sometimes be difficult to balance. Add a couple of similar-weight items (like towels). Conversely, ensure the machine isn’t overloaded.
- Check Level: Ensure the washing machine is sitting level and stable on the floor. Adjust the feet if necessary. All feet should be firmly on the ground.
- Remove Problem Items: If washing a single large item (e.g., heavy blanket), it may be difficult for the machine to balance.
- Restart Spin: After adjusting, close the door and try restarting the spin cycle or the entire program.
Conclusion: Taking Control of Your Washer
While Hisense error codes might seem daunting at first, understanding them empowers you to diagnose and potentially fix many common issues yourself. By following these troubleshooting steps safely, you can often resolve problems related to water supply, drainage, balance, and more.
