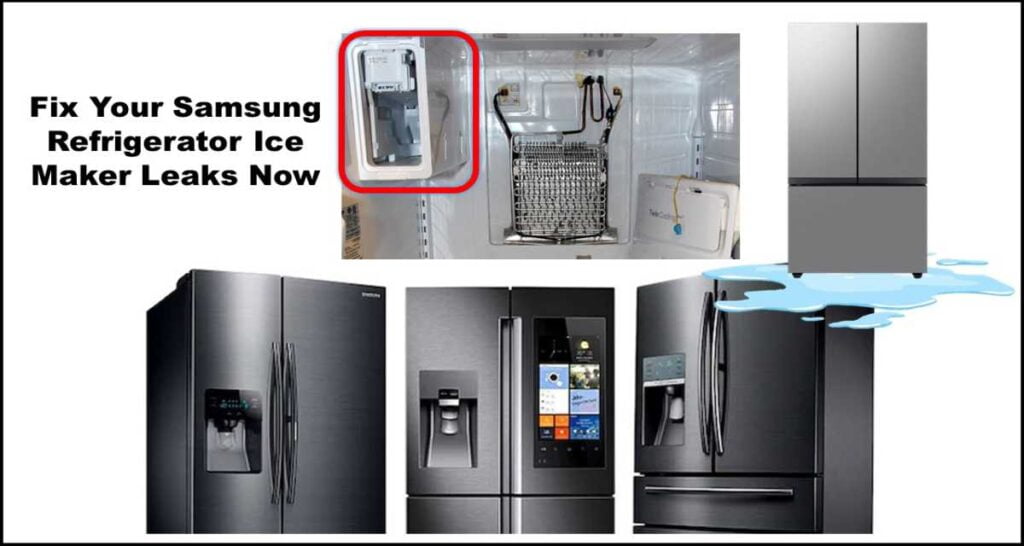
Is your Samsung refrigerator leaking water from the ice maker? This is a common problem, but there are solutions you can try at home. This guide will help you identify the cause of the leak and fix it yourself.

Samsung Refrigerator Ice Maker Leaks
Fix Your Samsung Refrigerator Ice Maker Leaks Now

Diagnosing Samsung refrigerator ice maker leaks:

Several culprits could be behind the leak. Let’s delve into the most frequent ones:

  1. Seal Woes: The gasket that creates a snug seal between the ice maker and the door can weaken over time. This allows warm air to sneak in, causing ice buildup and subsequent leaks.
  2. Frosty Frenzy: Ice buildup within the ice maker itself can also lead to water overflowing and cascading down. This can happen due to a malfunctioning fill valve or a faulty temperature sensor.
  3. Gap Attack: A small gap between the ice maker and the seal can create a similar problem as a faulty seal. Warm air entering through this gap triggers ice buildup and, ultimately, leaks.

Fixing the flow:

Now that you’ve identified the potential culprit, here are some solutions you can try:

  1. Seal Savvy: For a compromised gasket, a clever trick is to insert a piece of backer rod (a foam sealing material) inside the gasket lip. This creates a tighter seal and keeps warm air at bay.
  2. Drain & Heat Duo: If ice buildup within the ice maker is the issue, consider installing a drain kit and a secondary heater. The drain kit allows excess water to drain properly, while the secondary heater prevents ice accumulation.

Pro Tip: These parts are often available online or at appliance parts stores.

  1. Bubble Wrap Barrier: For a gap between the seal and the ice maker, a simple solution is to insert some bubble wrap material inside the seal. This elevates the seal and closes the gap, preventing warm air from entering.

Bonus Tips for the Ice Master:

  • Forced Defrost: Sometimes, a forced defrost cycle can help eliminate excess frost buildup that might be contributing to the leak. Consult your Samsung refrigerator manual for specific instructions on how to initiate a defrost cycle.
  • Frosty Patterns: Inspect the frost pattern on the evaporator coils located behind the back panel in the freezer section. Uneven frost patterns could indicate a malfunctioning defrost system, which can lead to ice maker leaks.

Remember: Regular cleaning and maintenance of your Samsung refrigerator can go a long way toward preventing ice maker leaks.

By following these steps and keeping your cool, you can turn your leaky ice maker back into a reliable ice-producing machine!

Samsung Refrigerator Ice Maker Leaks Now: FAQ

Installing an ice maker service kit can vary depending on your specific refrigerator model. However, here’s a general guideline to get you started:

Before you begin:

  • Safety first! Unplug your refrigerator from the power outlet to avoid an electrical shock.
  • Gather your tools: You’ll likely need a screwdriver, pliers (depending on the kit), and possibly a putty knife.
  • Consult your manual: Your Samsung refrigerator’s manual will have specific instructions for ice maker installation. Refer to it for detailed steps and part identification specific to your model.

General Installation Process:

  1. Locate the ice maker: Find the ice maker compartment within your freezer. It’s usually located on the upper back or side wall.
  2. Remove the existing ice maker: Look for screws or mounting brackets holding the ice maker in place. Use your screwdriver or wrench to remove them carefully. Some models might require additional steps to detach the water line or electrical connector. Refer to your manual for specifics.
  3. Prepare the space for the new ice maker: Consult your manual for any specific steps needed to prepare the space for the new ice maker. This might involve removing a cover plate or installing a mounting bracket.
  4. Install the new ice maker: Following your manual’s instructions, position the new ice maker in its designated spot. Secure it using the provided screws or mounting brackets.
  5. Connect the water line: The service kit might include a new water line. Attach it to the water inlet valve following the kit’s instructions. This usually involves pushing the line firmly into the valve and tightening a compression nut with a wrench (don’t overtighten).
  6. Connect the electrical connector: Locate the electrical connector for the ice maker and ensure it’s properly plugged into the corresponding socket on the new ice maker.
  7. Reinstall any components: Put back any covers, shelves, or drawers you removed during the process.
  8. Turn on the refrigerator and test the ice maker: Plug the refrigerator back in and allow it some time to cool down (typically 24 hours). Then, activate the ice-maker function (refer to your manual) and see if it dispenses ice properly.

Additional Tips:

  • Watch video tutorials: Search online for video tutorials specific to your refrigerator model. These can be a great visual aid for the installation process.
  • Take pictures: If you’re unsure about any steps, take pictures before disassembling anything. This can help you put everything back together correctly.

Remember, these are general steps, and it’s crucial to consult your Samsung refrigerator’s manual for specific instructions and part identification.

Leave a Reply