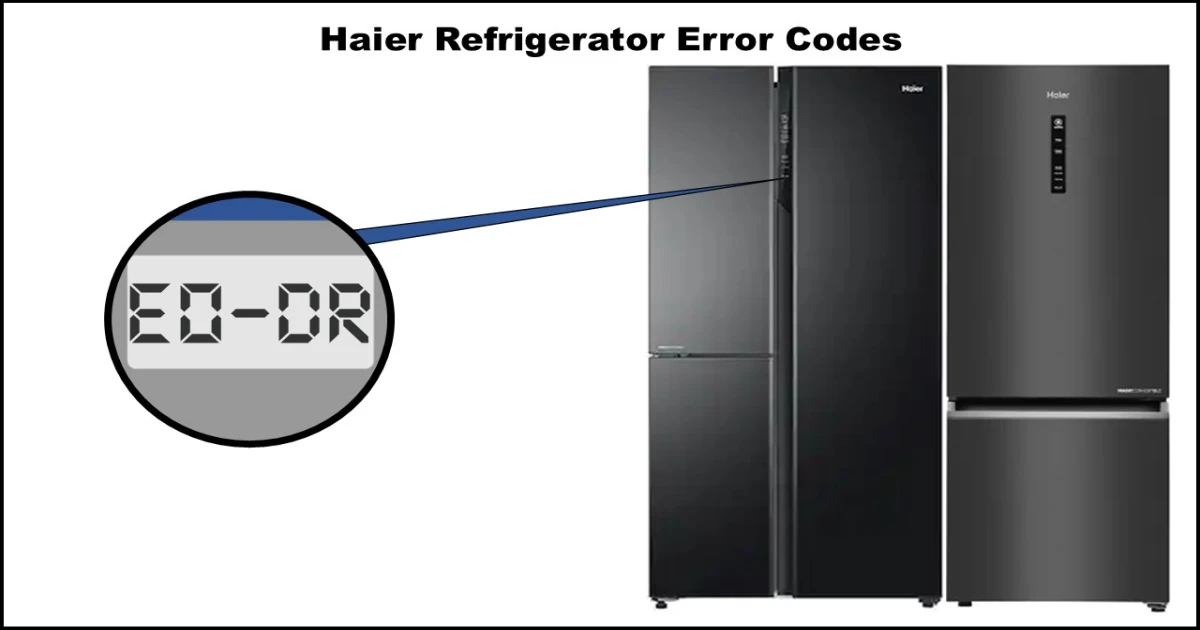
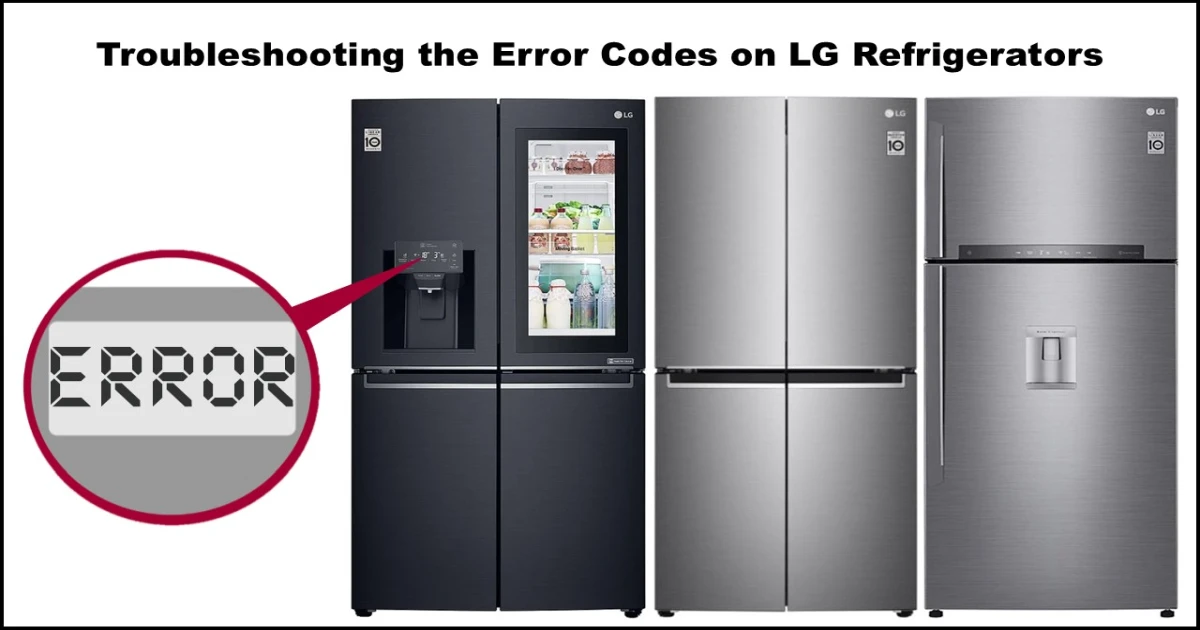
This guide provides a breakdown of common Midea refrigerator error codes and offers potential troubleshooting steps. Before attempting any troubleshooting or repairs, always unplug your refrigerator from the power outlet to avoid the risk of electric shock.
Here’s a list of common Midea refrigerator error codes and their associated solutions:
E0: Ice Maker Error
This code indicates a problem with the ice maker system.
Solutions:
- Check the Ice Maker (I.M.) Wire Harness: Locate the wire connector for the ice maker. Ensure it is securely plugged in and that there are no visible signs of damage to the wires.
- Test the Ice Maker Motor Resistance: If you have a multimeter and are comfortable using it, you can check the electrical resistance of the ice maker motor. Refer to your refrigerator’s service manual for the expected resistance value. An incorrect reading may indicate a faulty motor.
- Force the Ice Maker Cycle: Some MIDEA models allow you to force a test cycle for the ice maker. Consult your user manual for instructions on how to enter this mode. Observe if the ice maker components move and function as expected.
- Replace the Ice Maker Motor: If the ice maker does not operate correctly during a forced cycle or the resistance test indicates an issue, the ice maker motor may need to be replaced.
- Replace the Main PCB: If the ice maker motor appears functional but the error persists, there might be an issue with the main control board (PCB – Printed Circuit Board).
E1: Refrigerator Sensor Error
This code signifies a problem with the sensor that monitors the temperature in the refrigerator compartment.
Solutions:
- Check the Refrigerator Sensor Wire Harness: Locate the refrigerator sensor and its wire connector. Ensure the connection is secure and the wiring is undamaged.
- Test the Refrigerator Sensor Resistance: Using a multimeter, measure the resistance of the refrigerator sensor.
- Replace the Sensor: If the measured resistance is significantly different from the chart value for the current temperature, the sensor is likely faulty and needs replacement.
- Replace the Main PCB: If the sensor tests correctly but the E1 error persists, the main PCB may be the issue.
E2: Freezer Sensor Error
This code indicates an issue with the sensor that monitors the temperature in the freezer compartment.
Solutions:
- Check the Freezer Sensor Wire Harness: Locate the freezer sensor and its wire connector. Ensure a secure connection and check for damaged wiring.
- Test the Freezer Sensor Resistance: Use a multimeter to measure the resistance of the freezer sensor.
- Replace the Sensor: If the measured resistance does not match the expected value for the current temperature, replace the sensor.
- Replace the Main PCB: If the sensor appears functional but the E2 error continues, the main PCB might be the problem.
E3: Flex Drawer Sensor Error
This code points to a problem with the temperature sensor in the flex drawer compartment.
Solutions:
- Check the Flex Drawer Sensor Wire Harness: Locate the flex drawer sensor and its wire connector. Verify the connection is secure and the wiring is intact.
- Test the Flex Drawer Sensor Resistance: Measure the resistance of the flex drawer sensor using a multimeter.
- Replace the Sensor: If the measured resistance is incorrect for the current temperature, the sensor needs to be replaced.
- Replace the Main PCB: If the sensor tests fine but the E3 error persists, the main PCB could be the culprit.
E4: Refrigerator Defrost Sensor Error
This code indicates a problem with the sensor that monitors the temperature of the refrigerator evaporator during the defrost cycle.
Solutions:
- Check the Refrigerator Defrost Sensor Wire Harness: Locate the refrigerator defrost sensor near the evaporator coils and check its wire connector for a secure connection and any damage.
- Test the Refrigerator Defrost Sensor Resistance: Use a multimeter to measure the resistance of the defrost sensor. Note that defrost sensors are typically NTC (Negative Temperature Coefficient) thermistors, meaning their resistance decreases as temperature increases.
- Replace the Sensor: If the resistance value is incorrect for the temperature of the sensor (which will likely be cold), replace the sensor.
- Replace the Main PCB: If the sensor checks out but the E4 error remains, the main PCB might be faulty.
E5: Freezer Defrost Sensor Error
This code signifies an issue with the sensor that monitors the temperature of the freezer evaporator during the defrost cycle.
Solutions:
- Check the Freezer Defrost Sensor Wire Harness: Locate the freezer defrost sensor near the evaporator coils and check its wire connector for a secure connection and any damage.
- Test the Freezer Defrost Sensor Resistance: Measure the resistance of the freezer defrost sensor using a multimeter.
- Replace the Sensor: If the resistance value is incorrect for the sensor’s temperature, replace the sensor.
- Replace the Main PCB: If the sensor appears functional but the E5 error persists, the main PCB could be the problem.
E6: Communication Error between Main PCB and Control Board (Same as CA error code)
This code indicates a loss of communication between the main control board (located typically at the back of the refrigerator) and the user interface control board (usually on the door or front panel).
Solutions:
- Check the Communication Wire Harness: Locate the wire harness that connects the main PCB and the control board. Ensure it is securely connected at both ends and that there are no cuts or damage to the wires.
- Replace the Control Board: If the wiring is intact, the issue might be with the control board itself. Replacing the control board may resolve the error.
- Replace the Main PCB: If replacing the control board does not fix the communication error, the problem is likely with the main PCB.
E7: Ambient Sensor Error
This code indicates an issue with the sensor that measures the ambient room temperature around the refrigerator.
Solutions:
- Check the Ambient Sensor Wire Harness: Locate the ambient sensor (often located near the top of the refrigerator or on the control panel) and check its wire connector for a secure connection and any damage.
- Test the Ambient Sensor Resistance: Use a multimeter to measure the resistance of the ambient sensor. Compare the reading to the sensor temperature chart below.
- Replace the Sensor: If the measured resistance is incorrect for the current room temperature, replace the sensor.
- Replace the Main PCB: If the sensor tests correctly but the E7 error persists, the main PCB might be the issue.
E8: Flex Drawer Defrost Sensor Error
This code indicates a problem with the defrost sensor specifically for the flex drawer evaporator.
Solutions:
- Check the Flex Drawer Defrost Sensor Wire Harness: Locate the flex drawer defrost sensor near the flex drawer evaporator and check its wire connector for a secure connection and any damage.
- Test the Flex Drawer Defrost Sensor Resistance: Measure the resistance of the flex drawer defrost sensor using a multimeter.
- Replace the Sensor: If the resistance value is incorrect for the sensor’s temperature, replace the sensor.
- Replace the Main PCB: If the sensor appears functional but the E8 error persists, the main PCB could be the problem.
E9: Freezer/Refrigerator High Temperature Error
This critical error indicates that the temperature in either the freezer or refrigerator compartment is too high. This can lead to food spoilage.
Solutions:
- Verify Climate Class and Placement: Ensure the refrigerator is located in an environment that matches its climate class. Placing a refrigerator designed for temperate climates in a very hot or cold environment can affect its performance and lead to temperature issues. Refer to your user manual for the appliance’s climate class.
- Check Door Seals and Closure:
- Ensure that the refrigerator and freezer doors are closing completely and are not being blocked by food items.
- Inspect the door gaskets (the rubber seal around the door). They should be clean, pliable, and form a tight seal against the refrigerator cabinet. Cracked, torn, or damaged gaskets will allow warm air to enter. You can test the seal by closing the door on a piece of paper; if you can easily pull the paper out, the seal may be faulty. Replace damaged door gaskets.
- Inspect and Clean Condenser Coils: The condenser coils dissipate heat from the refrigerant. If they are covered in dust and debris, the refrigerator cannot cool effectively.
- Locate the condenser coils (usually at the back of the refrigerator or underneath).
- Unplug the refrigerator.
- Use a vacuum cleaner with a brush attachment or a condenser coil brush to gently clean the coils.
- Check Condenser Fan Motor: The condenser fan motor helps move air over the condenser coils. Ensure the fan is running when the compressor is operating and that there are no obstructions. You can check the voltage supplied to the fan motor using a multimeter. A non-running fan or incorrect voltage may indicate a faulty motor or wiring issue.
- Check Refrigerator and/or Freezer Fan Motors: These fans circulate cold air within their respective compartments. Open the doors and listen for the fans running (they may turn off when the door is open on some models). Ensure they are not obstructed by ice or food. You can check the voltage supplied to these fan motors using a multimeter.
- Inspect for Ice Buildup (Defrost System Issue): Excessive ice buildup on the evaporator coils in either compartment can restrict airflow and cause high temperatures. This often indicates a problem with the defrost system.
- Check Defrost Heater: The defrost heater melts frost from the evaporator coils. Test its resistance using a multimeter.
- Check Thermo-Fuse: This is a safety device that opens the circuit to the defrost heater if it gets too hot. Test for continuity using a multimeter.
- Check Bi-Metal Thermostat: This switch closes to allow the defrost heater to activate when the evaporator is cold enough and opens when it reaches a certain temperature. Test for continuity at freezing temperatures and open circuit at room temperature.
- Check Drain Tube: A clogged drain tube can cause water from the defrost cycle to back up and freeze, leading to ice buildup. Locate the drain tube (usually beneath the evaporator) and clear any obstructions.
- Sealed System Issues: If none of the above steps resolve the high-temperature error, there might be a problem with the sealed refrigeration system, such as a faulty compressor, refrigerant leak, or a clogged line. This is a complex repair that requires a certified refrigeration technician.
- Check Compressor: A technician can check the compressor’s electrical components like the relay, OLP (Overload Protector), and capacitor
Ed: Door Error
This code indicates an issue with the refrigerator or freezer door switch.
Solutions:
- Check Door Switch Unit: Locate the door switch unit (usually located in the door frame). Ensure it is not loose or damaged.
- Test Door Switch Resistance: Using a multimeter, measure the resistance across the door switch terminals.
- When the door is open, the contact should be closed (near 0 Ω resistance or continuity).
- When the door is closed (switch depressed), the contact should be open (∞Ω or OL resistance).
- If the switch does not operate correctly, it needs to be replaced.
EE: Freezer Ice Maker Sensor Error
This code specifically points to a problem with the temperature sensor within the freezer ice maker. This may be related to other ice maker sensor codes like C9, CC, and F4 (which might indicate issues with the ice maker temperature sensor, defrost sensor, or refrigerator ice maker sensor, respectively – note that the meaning of these related codes can vary by model).
Solutions:
- Check the Ice Maker Sensor Wire Harness: Locate the sensor within the freezer ice maker and check its wire connector for a secure connection and any damage.
- Test the Ice Maker Sensor Resistance: Measure the resistance of the ice maker sensor using a multimeter.
- Replace the Sensor: If the resistance value is incorrect for the sensor’s temperature, replace the sensor.
- Replace the Main PCB: If the sensor appears functional but the EE error persists, the main PCB could be the problem.
F5: Refrigerator Ice Maker Ice-Flipping Error F6: Refrigerator Ice Maker Initialization Error EP: Freezer Ice Maker Ice-Flipping Error
These codes indicate mechanical issues with the ice maker’s operation, specifically related to the process of ejecting ice (ice-flipping) or the initial setup/movement of the ice maker mechanism (initialization).
Solutions:
- Check the Ice Maker Wire Harness: Ensure the wire connector for the ice maker is securely plugged in and the wiring is not damaged.
- Test the Ice Maker Motor Resistance: If you have a multimeter, you can check the resistance of the ice maker motor as described for the E0 error.
- Force the Ice Maker Cycle: Attempt to force a test cycle for the ice maker (consult your user manual). Observe the ice maker’s movement. Look for any obstructions preventing the ice from being ejected or the mechanism from moving freely. Clear any ice jams or foreign objects.
- Replace the Ice Maker Motor: If the ice maker does not cycle properly or the motor resistance is incorrect, the ice maker motor may need replacement.
- Replace the Main PCB: If the mechanical components appear fine and the error persists, the main PCB might be the issue.
EF: Water Tank Error
This code suggests a problem related to the water tank or its connection, often associated with models that have a water dispenser.
Solutions:
- Check Water Tank Position: Ensure the internal water tank (if applicable to your model) is correctly installed and seated in its designated location.
- Check Water Tank Wire Harness: Locate the wire connection for the water tank system (this might be for a sensor or a micro switch) and ensure it is securely connected and undamaged.
- Check Water Tank Micro Switch: Some water tank systems use a micro switch to detect if the tank is correctly installed. Check if the switch is loose or damaged. You can test its continuity with a multimeter, checking for a change in state when the tank is inserted or removed.
EH: Humidity Sensor Error
This code indicates an issue with the humidity sensor, which helps regulate humidity levels inside the refrigerator, particularly in crisper drawers.
Solutions:
- Check the Humidity Sensor Wire Harness: Locate the humidity sensor (often in a crisper drawer or near the control panel) and check its wire connector for a secure connection and any damage.
- Test the Humidity Sensor Voltage: Using a multimeter, measure the voltage output of the humidity sensor. The voltage output of a humidity sensor typically changes with the relative humidity.
- Replace the Sensor: If the measured voltage value is significantly different from the expected value for the current temperature and humidity, the sensor is likely faulty and needs replacement.
- Replace the Main PCB: If the sensor tests correctly but the EH error persists, the main PCB might be the issue.
Conclusion:
Midea refrigerator error codes serve as valuable indicators of potential problems within your appliance. By understanding what these codes mean and following the appropriate troubleshooting steps, you can often resolve minor issues yourself.
