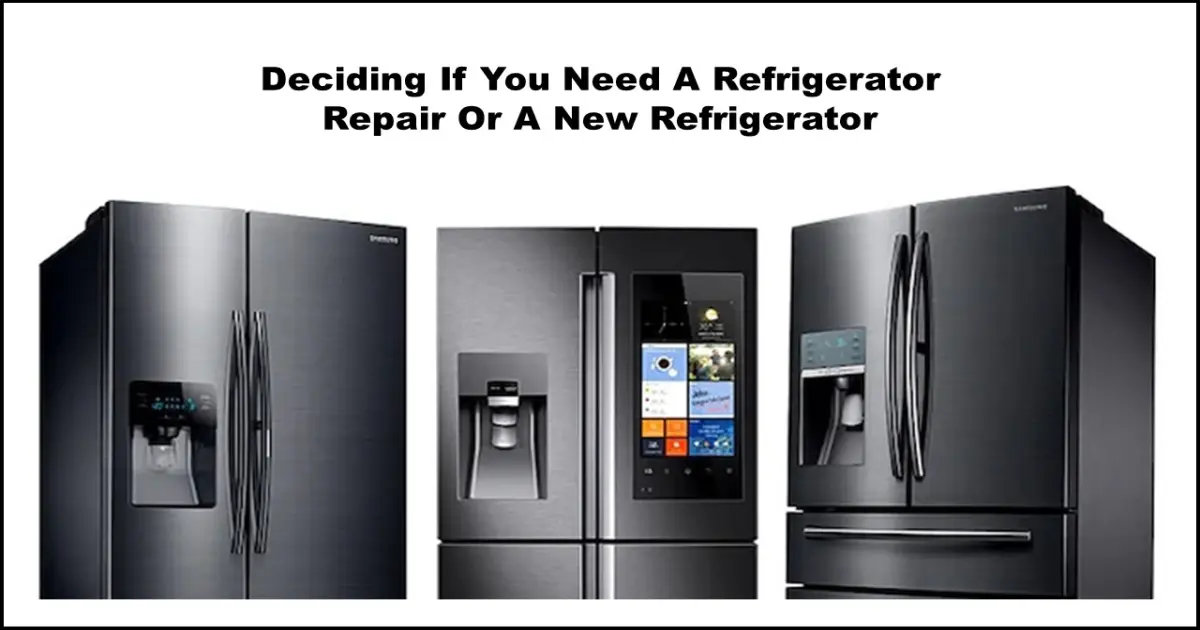
That flashing light or cryptic code on your Electrolux refrigerator display can be alarming. Is the milk spoiling? Is a costly repair bill looming? Relax! Error codes are simply your fridge’s way of telling you something needs attention. While some issues require a professional, understanding these Electrolux refrigerator error codes can often lead you to a quick fix or help you accurately describe the problem to a technician.
Important Safety Note: Before attempting any troubleshooting that involves accessing wiring or components, always unplug your refrigerator from the power outlet to prevent electrical shock. If you are ever unsure or uncomfortable performing any of these steps, please call a qualified appliance repair technician.
Common Electrolux Refrigerator Error Codes:
We’ll break down some frequently seen error codes, explain what they mean in simple terms, and outline potential solutions, starting with the easiest.
Sensor Errors: OP / SH (or 5H) on Freezer or Fresh Food Display
- Codes:
OPon Freezer Display: Freezer Sensor OpenSHor5Hon Freezer Display: Freezer Sensor ShortedOPon Fresh Food Display: Fresh Food Sensor OpenSHor5Hon Fresh Food Display: Fresh Food Sensor Shorted
- What it Means: These codes point to a problem with the temperature sensors in either the freezer or fresh food compartment.
OP(Open): The control board isn’t receiving any signal from the sensor. This could be due to a disconnected wire, a completely failed sensor, or sometimes a control board issue.SHor5H(Shorted): The sensor is sending back faulty or nonsensical readings due to an internal electrical short or wiring issue.- The Result: In either case, the refrigerator can’t accurately gauge the temperature, potentially leading to improper cooling (too warm or too cold).
- Troubleshooting Steps (Always Unplug Fridge First!):
- Power Cycle: Sometimes, a simple reset fixes temporary glitches. Unplug the fridge, wait 5 minutes, and plug it back in. See if the error returns.
- Visual Inspection: Locate the sensor (often a small plastic dome or probe inside the compartment, check your manual for specifics). Look for obvious damage or loose connections where the sensor wiring connects to the main harness (if accessible).
- Advanced Check (Requires Multimeter & Technical Skill):
- Test Sensor Wiring: Check the resistance of the sensor wire at its harness connection points. It should be very low, typically between 0.1 and 1.2 Ω (Ohms). A high reading indicates a break in the wire.
- Test Sensor Resistance: Disconnect the sensor and measure its resistance directly. Compare it to the manufacturer’s specification. If the reading is wildly off (e.g., infinite for ‘Open’ or near zero for ‘Shorted’), the sensor likely needs replacement.
- Check Sensor Voltage: Verify if the sensor connection point on the control board is supplying the correct voltage (typically +5Vdc). If not, the main control board might be faulty. This step carries electrical risk and is best left to professionals if you’re inexperienced.
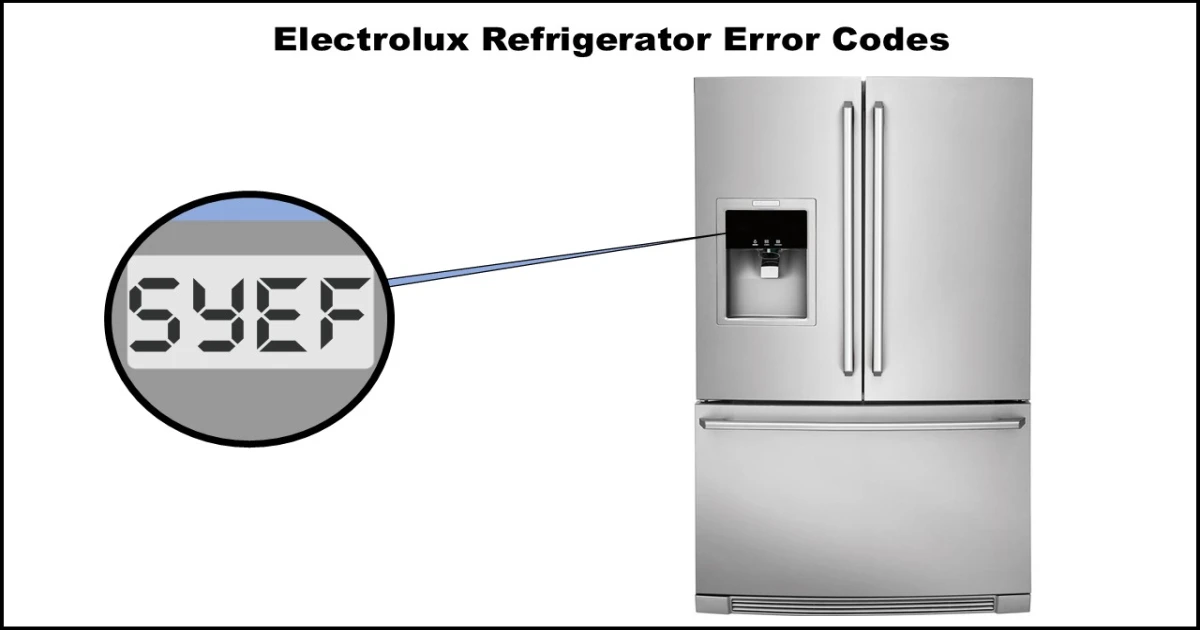
Evaporator Fan Error: SY EF (or 5Y EF)
- Code:
SY EFor5Y EF - What it Means: There’s a problem with the evaporator fan motor. This fan is crucial; it circulates cold air from the evaporator coils (usually behind a panel in the freezer) throughout the fridge and freezer compartments.
- Potential Causes:
- Fan motor failure.
- Something physically blocking the fan blades (ice build-up, loose wire).
- Heavy frost/ice build-up around the fan, preventing it from turning.
- Faulty wiring between the fan and the control board.
- Defrost system issue (thermostat or heater failure) leading to excessive ice.
- Faulty main control board.
- The Result: Poor or no cooling, especially in the fresh food section. You might hear clicking or no sound from the fan area when it should be running.
- Troubleshooting Steps (Always Unplug Fridge First!):
- Power Cycle: Unplug for 5 minutes, then plug back in. Listen carefully to see if the fan attempts to start.
- Check for Obstructions: If possible (may require removing shelves/panels – consult your manual), visually inspect the fan area in the freezer. Is there excessive ice build-up? Can you see anything blocking the blades? Allowing the fridge to defrost completely (unplugged, doors open for 24-48 hours with towels ready) can sometimes clear ice obstructions.
- Advanced Checks (Requires Multimeter & Technical Skill):
- Test Fan Wiring: Check resistance of the fan motor wiring at harness connections (expect 0.1 – 1.2 Ω).
- Measure Fan Voltage: Check the voltage being supplied to the fan motor (refer to service manual or sticker, often around 12 Vdc) and the feedback/signal voltages if applicable (see original post’s table for typical values, distinguishing 3-wire vs 4-wire fans). Requires caution.
- Check Defrost Components: If excessive ice seems to be the issue, test the defrost thermostat and heater for continuity/resistance.
Communication Errors: SY CE (or 5Y CE) / SY CF (or 5Y CF)
- Codes:
SY CEor5Y CE: Communication Error (during operation)SY CFor5Y CF: Communication Failure (on start-up)
- What it Means: The main control board (the fridge’s “brain”) is having trouble communicating with the user interface board (the display and buttons).
SY CE/5Y CE: The connection was lost after the fridge was already running.SY CF/5Y CF: The boards couldn’t establish communication right when the fridge was powered on.
- Potential Causes:
- Loose or damaged wiring harness/connector between the two boards.
- Faulty user interface board (corrosion, damage).
- Faulty main control board.
- Rarely, a power surge or firmware glitch.
- The Result: The display might be blank, unresponsive, or show incorrect information. The fridge might not operate correctly.
- Troubleshooting Steps (Always Unplug Fridge First!):
- Power Cycle: This is crucial for communication errors. Unplug the fridge for at least 5-10 minutes to allow both boards to fully reset, then plug it back in.
- Inspect Wiring Harness: Carefully check the wire harness connecting the main control board (usually located at the back or bottom) and the user interface board (behind the display). Look for:
- Connectors that aren’t fully seated.
- Pinched, cut, or obviously damaged wires.
- Signs of corrosion on the connector pins.
- Inspect Boards (Visual): Look for any visible signs of damage, burns, or corrosion on both the user interface board and the main control board.
Conclusion:
Seeing an error code on your Electrolux refrigerator doesn’t automatically mean disaster. By identifying the code and performing basic checks like a power cycle and visual inspection, you might resolve the issue yourself. However, remember that working with electrical appliances carries risks.