Disclaimer: Accessing the service mode and test cycle on your Beko refrigerator is intended for diagnostic purposes by qualified technicians or experienced users. Incorrect use could potentially lead to improper settings or component operation. Proceed with caution and at your own risk.
This Beko refrigerator service mode guide explains how to enter the service mode on specific Beko refrigerator 4-doors models and navigate the diagnostic “Test Cycle”.
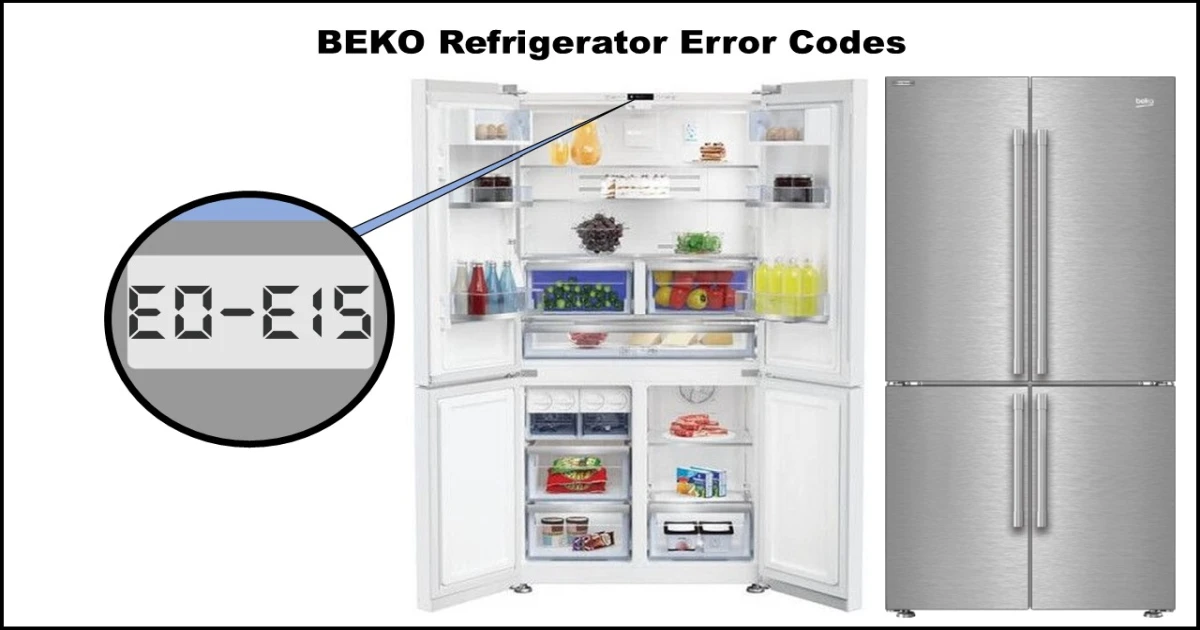
I. Entering the BEKO Refrigerator Service Mode
You must initiate this sequence within the first 30 seconds after powering on the refrigerator.
- Power On & Initial Display Sequence:
- Plug in or power on the refrigerator.
- Observe the display: Typically, all icons will light up briefly, then turn off.
- The display will automatically show software information:
- First: Display version and revision (e.g.,
0:0). - Second: Control board version and revision (e.g.,
4:1). - Third (Optional – may be skipped on some models): Current temperatures of the compartments (°C or °F).
- First: Display version and revision (e.g.,
- Do not press any buttons during this initial automatic display sequence.
- Activate Service Mode:
- Within 30 seconds of power-on, press and hold the
Alarm Offbutton and theOn/Offbutton simultaneously for approximately 3 seconds. - The display will enter service mode, showing one of the following codes:
PS 0,PS 2, orPS 7. (PSstands for Password/Program Select).
- Within 30 seconds of power-on, press and hold the
- Navigate Service Mode Options:
- The available modes usually include:
PS 0: Test Cycle (Diagnostic tests for components)PS 2: Filter Counter (Access/reset filter timer – function may vary)PS 7: Showroom Function / Demo Mode (Disables cooling for display purposes)
- Press the
Alarm Offbutton repeatedly to cycle through the availablePSoptions (PS 0,PS 2,PS 7). - Press the
Ice/Temp (°C/°F)button (this button might be labelled differently, e.g.,ICE/OFFor include°C/°F³') to confirm your selection and enter the chosen mode.
- The available modes usually include:
II. Accessing and Running the Test Cycle (PS 0)
This is the primary diagnostic mode.
- Select PS 0: Use the
Alarm Offbutton to navigate until the display showsPS 0. - Confirm Selection: Press the
Ice/Temp (°C/°F)button. The Test Cycle will begin.
Test Cycle Steps:
The Test Cycle proceeds through several steps. You generally advance to the next step or activate functions within a step using the Ice/Temp (°C/°F) button.
- Step 1: Display Test
- Upon entering the Test Cycle, all segments and icons on the display panel should light up or blink simultaneously. This verifies the display itself is working correctly.
- Press
Ice/Temp (°C/°F)to proceed to the next step.
- Step 2: Software Version Display
- The display will show the software version and revision for the display panel.
- Press
Ice/Temp (°C/°F)again. - The display will show the software version and revision for the main control board.
- Press
Ice/Temp (°C/°F)to proceed to the next step.
- Step 3: Sensor Temperature Reading
- The refrigerator begins displaying temperature readings from its various sensors.
- The display typically shows a sensor code and its current temperature reading.
- Refer to the table below for common codes:
| Sensor Description | Sensor Code | Cabinet Code | Display Reads |
|---|---|---|---|
| Fridge Sensor | `FH` | `CA 0` | `XX`°C Fridge Temp |
| Fridge Evaporator Sensor | `FE` | `CA 0` | `XX`°C Fridge Evap Temp |
| Freezer Sensor | `rH` | `CA 1` | `XX`°C Freezer Temp |
| Freezer Evaporator Sensor | `rE` | `CA 1` | `XX`°C Freezer Evap Temp |
| Multizone Sensor | `JH` | `CA 2` | `XX`°C M-Zone Temp |
| Multizone Evaporator Sens. | `JE` | `CA 2` | `XX`°C M-Zone Evap Temp |
- Navigation:
- Press the
Rapid/Quick Coolbutton (or similar function button) to scroll forward through the list of sensors. - Press the
Alarm Offbutton to scroll backward through the list.
- Press the
- Proceeding to Component Tests: Press the
Alarm OffandOn/Offbuttons simultaneously briefly (do not hold). This moves from sensor readings to the next phase (Fans/Lighting test). - Step 4: Fans and Lighting Test
- This step tests internal lights and fans.
- Pressing
Ice/Temp (°C/°F):- May initially toggle the fridge and freezer cabinet lighting ON/OFF.
- Starts the fan tests. Subsequent presses may cycle through fan speeds or activate different fans (behavior can vary).
- Pressing
Alarm Off: Skips or selects the specific fan to be tested/controlled. - Proceeding to Main Components Test: Press the
Alarm OffandOn/Offbuttons simultaneously briefly again.
- Step 5: Main Components Test
- This step allows individual activation of major components for testing.
- Use the
Alarm Offbutton to cycle through and select the component to test (identified by a code on the display). - Press the
Ice/Temp (°C/°F)button to toggle the selected component ON or OFF. - Refer to the table below for common component codes:
| Component Description | Test Code |
|---|---|
| Fridge Fan | `FF` |
| Fridge Heating Element | `FO` |
| Intermediate Section Heater | `HC` |
| Ioniser | `Io` |
| Blue Light | `bA` |
| Fridge Lighting | `FL` |
| Freezer Fan | `rF` |
| Freezer Evaporator Heater | `rE` |
| Multizone Fan | `JF` |
| Multizone Evaporator Heater | `JE` |
| Ice Maker 1 | `Ir` |
| Ice Maker 2 (if applicable) | `dA` |
| Water Pump/Valve | `AP` |
| Condenser Fan | `CF` |
| Compressor | `Co` |
| Exchange Valve (Refrigerant Flow) | `SU` |
III. Exiting the Beko Refrigerator Service Mode / Test Cycle
You can exit the service mode or test cycle using one of the following methods:
- Manual Exit: Press and hold the
Alarm OffandOn/Offbuttons simultaneously for 3 seconds. - Automatic Timeout: The refrigerator will automatically exit the test cycle if no buttons are pressed for 30 seconds.
- Power Cycle: Unplug the refrigerator from the power outlet and plug it back in. The unit will restart in normal operating mode.