This guide explains common error codes displayed on BEKO refrigerators, what they mean, and potential troubleshooting steps.
Important Safety Warning: Troubleshooting and repairing Beko refrigerator error codes involves working with electricity and potentially complex components. Always disconnect the refrigerator from the power supply before attempting any inspection, cleaning, or repair. If you are unsure about any step or uncomfortable performing these checks, contact a qualified appliance repair technician. Attempting repairs beyond your skill level can be dangerous and may cause further damage.
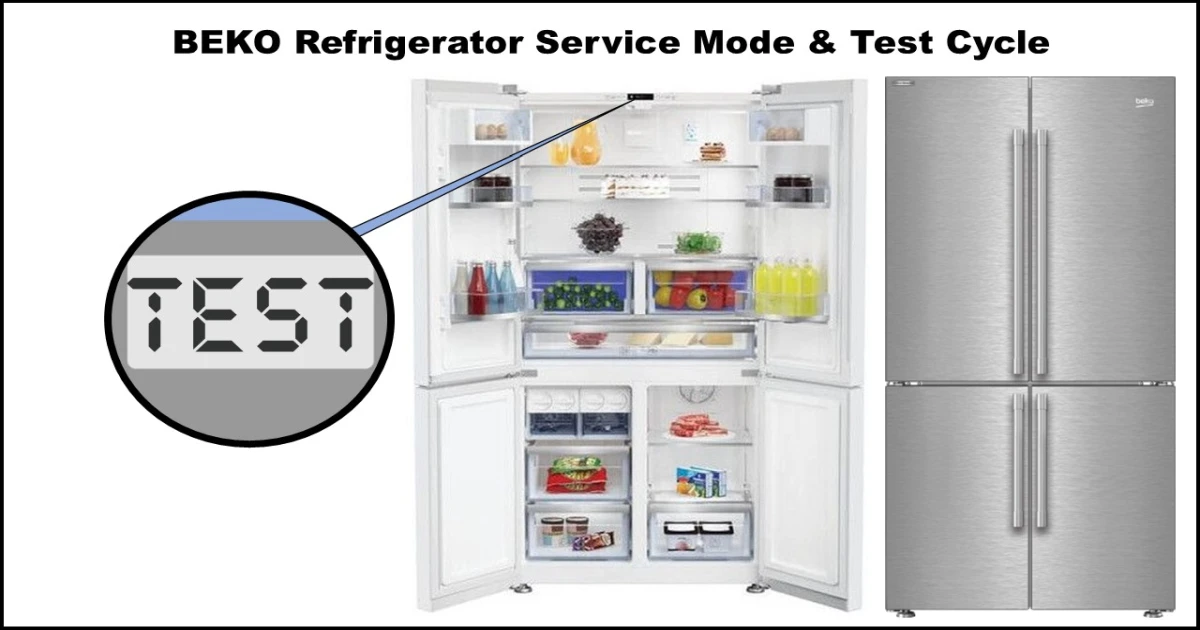
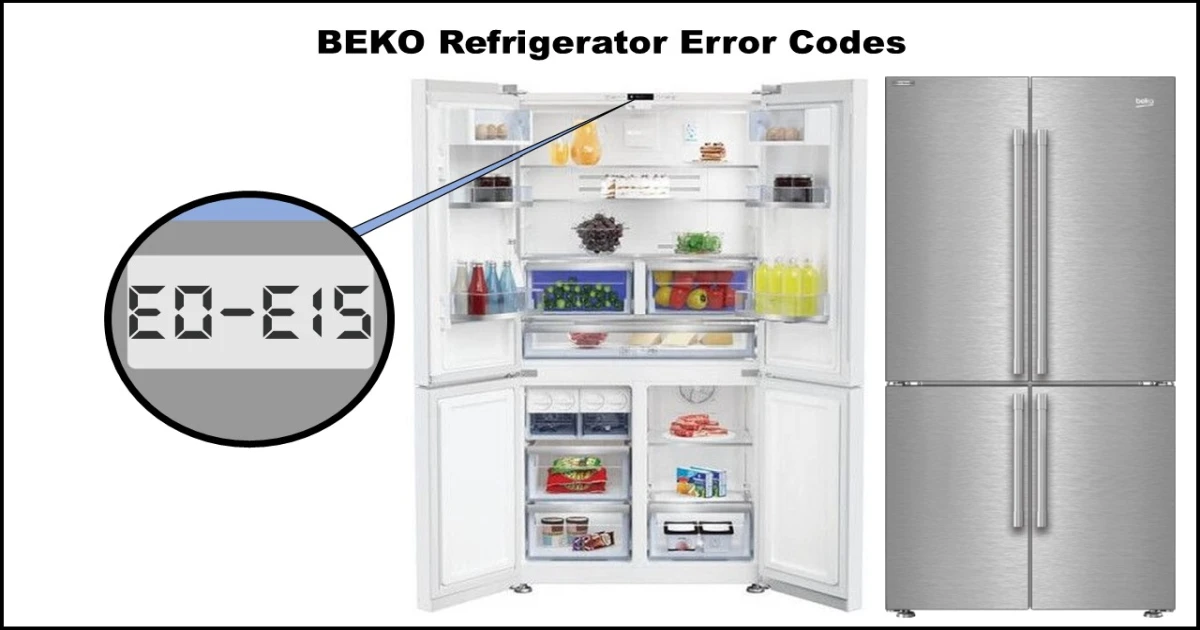
Beko Refrigerator Error Codes
E0: Freezer Sensor Error
- Meaning: Indicates an open circuit (broken wire/sensor) or short circuit detected in the freezer temperature sensor or its wiring.
- Potential Behavior: The refrigerator might force the compressor and freezer fan to run for 40 minutes, then stop for 40 minutes, repeating this cycle.
- Troubleshooting Steps:
- Check Connections: Locate the freezer sensor connector on the main control board. Ensure it’s securely plugged in and examine the wiring for any visible damage, breaks, or corrosion.
- Measure Sensor Resistance: If connections are secure but the error persists, disconnect the sensor connector from the board. Set a multimeter to measure resistance (Ohms, Ω). Measure across the sensor’s terminals.
- Reference Value: Approx.
55 kΩat-10°C(14°F). (Note: Resistance changes significantly with temperature. This is just a reference point.)
- Reference Value: Approx.
- Determine Fault:
- If the multimeter reads infinite resistance (OL – Open Line) or near zero resistance (short circuit), or if the value is drastically different from the expected range for its temperature, the Freezer Sensor likely needs replacement.
- If the resistance value seems plausible for the sensor’s current temperature, double-check the wiring for intermittent issues. If wiring is confirmed good, the Main Control Board may be faulty.
E1: Freezer Evaporator Sensor Error
- Meaning: Indicates an open or short circuit detected in the freezer evaporator temperature sensor or its wiring. This sensor is crucial for defrost cycles.
- Potential Behavior: During a defrost cycle, the freezer defrost heater might only activate for a maximum of 25 minutes, potentially leading to incomplete defrosting over time.
- Troubleshooting Steps:
- Check Connections: Locate the freezer evaporator sensor connector on the main control board. Check for secure connection and undamaged wiring. Reseat the connector if it appears loose.
- Measure Sensor Resistance: If the error remains, disconnect the sensor connector. Measure the sensor’s resistance with a multimeter.
- Reference Value: Approx.
72.5 kΩat-15°C(5°F).
- Reference Value: Approx.
- Determine Fault:
- If the resistance is incorrect (OL, near zero, or significantly off), the Freezer Evaporator Sensor likely needs replacement.
- If the resistance is plausible, re-check wiring. If wiring is good, suspect the Main Control Board.
E2: Fridge Evaporator Sensor Error
- Meaning: Indicates an open or short circuit detected in the fridge evaporator temperature sensor or its wiring.
- Troubleshooting Steps:
- Check Connections: Locate the fridge evaporator sensor connector on the main control board. Check for secure connection and undamaged wiring.
- Measure Sensor Resistance: If the error persists, disconnect the sensor connector and measure its resistance.
- Reference Value: Approx.
25.3 kΩat5°C(41°F).
- Reference Value: Approx.
- Determine Fault:
- If the resistance is incorrect, the Fridge Evaporator Sensor likely needs replacement.
- If the resistance is plausible, re-check wiring. If wiring is good, suspect the Main Control Board.
- Locating the Fridge Evaporator Sensor:
- This sensor is often embedded in foam insulation behind the fridge compartment’s rear panel, near the evaporator coils. Access usually requires removing shelves, drawers, and the rear panel inside the fridge.
- You may need to carefully follow the wires and gently remove some foam to access the sensor. Be cautious not to damage the evaporator coils or wiring.
- Clearly explain this process if discussing with a customer, as it can seem invasive. Contacting BEKO support for model-specific diagrams is recommended if unsure.
E3: Fridge Sensor Error
- Meaning: Indicates an open or short circuit detected in the main fridge compartment temperature sensor or its wiring.
- Troubleshooting Steps:
- Check Connections: Locate the fridge sensor connector on the main control board. Check for secure connection and undamaged wiring.
- Measure Sensor Resistance: If the error continues, disconnect the sensor connector and measure its resistance.
- Reference Value: Approx.
10 kΩat25°C(77°F).
- Reference Value: Approx.
- Determine Fault:
- If the resistance is incorrect, the Fridge Sensor likely needs replacement.
- If the resistance is plausible, re-check wiring. If wiring is good, suspect the Main Control Board.
E4: Freezer Defrost System Error
- Meaning: This error typically appears if the defrost cycle takes too long (e.g., heater active for over 60 minutes) for several consecutive cycles. It points to a problem preventing the freezer from defrosting correctly – either the heater isn’t working, or the sensor isn’t registering the temperature rise.
- Troubleshooting Steps:
- Check Sensor Connections: Verify the freezer defrost sensor connector (may be the same as the E1 sensor) is secure on the control board.
- Check Defrost Sensor Resistance: Measure the resistance of the defrost sensor (often the Evaporator Sensor).
- Reference Value: Approx.
72.5 kΩat-15°C(5°F). If incorrect, replace sensor.
- Reference Value: Approx.
- Check Defrost Heater Resistance: Locate the defrost heater terminals (often near the evaporator coil). Measure its resistance.
- Reference Value: Approx.
350 - 450 Ω. If OL (open circuit) or significantly outside this range, replace the Defrost Heater.
- Reference Value: Approx.
- Check Thermal Fuse(s): Locate the thermal fuse(s) usually clipped to the evaporator coil or in line with the heater. Measure resistance across the fuse.
- Reference Value: Should be near
0 Ω(continuity). - Abnormal Value: Reads OL / infinite Ω. If abnormal, the Thermal Fuse is blown and needs replacement. Crucially, determine why it blew (e.g., stuck heater, faulty board) before replacing.
- Reference Value: Should be near
- Check Drain Heater (if applicable): Some models have a small heater for the drain tube. Check its resistance.
- Reference Value: Approx.
2.8 kΩ - 6.0 kΩ. Replace if open circuit (OL).
- Reference Value: Approx.
- Check Main Board: If all components test correctly, the Main Control Board may be faulty (not activating the heater or reading the sensor properly).
E8: Ice Maker Sensor Error
- Meaning: Indicates an open or short circuit detected in the ice maker’s temperature sensor or its wiring (for models with an ice maker).
- Troubleshooting Steps:
- Check Connections: Locate the ice maker sensor connector on the control board or at the ice maker module itself. Check for secure connection and undamaged wiring.
- Measure Sensor Resistance: Disconnect the sensor and measure its resistance.
- Reference Value: Approx.
72.5 kΩat-15°C(5°F).
- Reference Value: Approx.
- Determine Fault:
- If resistance is incorrect, the Ice Maker Sensor likely needs replacement.
- If resistance is plausible, check wiring. If wiring is good, the fault may lie in the Ice Maker Module or the Main Control Board.
E9: Ice Maker Mechanism Error
- Meaning: Indicates a problem with the ice maker’s mechanical operation (motor failure, obstruction).
- Troubleshooting Steps:
- Check for Obstructions: Visually inspect the ice maker for any stuck ice cubes or foreign objects preventing movement.
- Check Motor (via Service Mode): Reconnect power temporarily and carefully activate the service mode (refer to the Service Mode guide). Navigate to the ice maker test (
IrordA) and try to activate the motor. Observe if it attempts to rotate in both directions. - Check Voltage (Advanced):Disconnect power again. Access the ice maker motor connections. Reconnect power briefly and carefully measure the DC voltage supplied to the motor when it should be running (during the test cycle or harvest cycle).
- If approximately
12 V DCis present but the motor doesn’t run, the Ice Maker Motor/Module is likely faulty. - If
12 V DCis not present when expected, the issue is likely the Main Control Board or wiring.
- If approximately
- Replace Components: Based on findings, replace the Ice Maker Assembly or the Main Control Board.
E10: Multizone / Joker Compartment Sensor Error
- Meaning: (For models with a convertible Multizone/Joker compartment) Indicates an open or short circuit in the main temperature sensor for this compartment.
- Troubleshooting Steps:
- Check Connections: Locate the Multizone sensor connector on the control board. Check for secure connection and undamaged wiring.
- Measure Sensor Resistance: Disconnect the sensor and measure its resistance.
- Reference Value: Approx.
42.5 kΩat-5°C(23°F).
- Reference Value: Approx.
- Determine Fault:
- If resistance is incorrect, replace the Multizone Sensor.
- If resistance is plausible, check wiring. If wiring is good, suspect the Main Control Board.
E11: Multizone / Joker Evaporator Sensor Error
- Meaning: Indicates an open or short circuit in the evaporator temperature sensor for the Multizone/Joker compartment.
- Troubleshooting Steps:
- Check Connections: Locate the Multizone evaporator sensor connector on the control board. Check for secure connection and undamaged wiring.
- Measure Sensor Resistance: Disconnect the sensor and measure its resistance.
- Reference Value: Approx.
129.3 kΩat-25°C(-13°F).
- Reference Value: Approx.
- Determine Fault:
- If resistance is incorrect, replace the Multizone Evaporator Sensor.
- If resistance is plausible, check wiring. If wiring is good, suspect the Main Control Board.
E12: Multizone / Joker Defrost System Error
- Meaning: Similar to E4, but for the Multizone compartment. Indicates a problem with the defrost cycle (heater, sensor, fuse).
- Troubleshooting Steps:
- Check Connections: Verify sensor and heater connections on the board.
- Check Defrost Heater Resistance: Measure the resistance of the Multizone defrost heater.
- Reference Value: Approx.
407 - 588 Ω. Replace if OL.
- Reference Value: Approx.
- Check Thermal Fuse: Measure resistance across the Multizone thermal fuse.
- Reference Value: Near
0 Ω. - Abnormal Value: OL / infinite Ω. Replace if blown (and investigate cause).
- Reference Value: Near
- Check Drain Heater (if applicable): Check resistance of the Multizone drain heater.
- Reference Value: Approx.
1.4 kΩ - 4.4 kΩ. Replace if OL.
- Reference Value: Approx.
- Check Sensor: Verify the Multizone evaporator sensor (E11) resistance.
- Check Main Board: If components test okay, suspect the Main Control Board.
E13: Freezer Fan Error
- Meaning (Standard Models): Indicates a problem with the freezer fan motor (not spinning, spinning too slow/fast, or signal feedback issue).
- Meaning (Some 4-Door Models): On certain 4-door models,
E13might instead indicate an Ice Chamber Defrost Sensor Error. Verify your specific model documentation. - Troubleshooting Steps (Standard Fan Error):
- Check Connections: Inspect the freezer fan wiring harness at the fan motor and the control board. Ensure secure connections.
- Check for Obstructions: Remove the freezer evaporator cover panel. Visually inspect the fan blade for ice buildup or physical obstructions preventing rotation. Spin it by hand – it should move freely.
- Check Voltage & Feedback (Advanced): Use caution. Access the fan motor connector. Reconnect power briefly. Check for
~12 V DCsupply voltage from the board when the fan should be running. Also check the feedback signal wire voltage (often around~2.4 V DCwhen running correctly, but varies by model). - Determine Fault:
- If obstructed, clear the obstruction.
- If voltage is present but the fan doesn’t run or runs erratically, replace the Freezer Fan Motor.
- If supply voltage is missing, check wiring. If wiring is good, suspect the Main Control Board.
- If the feedback signal is incorrect despite the fan running, it could be the fan motor assembly or the control board.
E14: Multizone / Joker Fan Error
- Meaning: Indicates a problem with the fan motor in the Multizone/Joker compartment.
- Troubleshooting Steps:
- Check Connections: Inspect the Multizone fan wiring harness (board and motor).
- Check for Obstructions: Remove the Multizone evaporator cover. Check for ice or obstructions; ensure the blade spins freely.
- Check Voltage & Feedback (Advanced): Similar to E13, check for
~12 V DCsupply and the feedback signal voltage (~2.4 V DCtypical) when the fan should be active. - Determine Fault:
- If obstructed, clear it.
- If voltage present but fan faulty, replace the Multizone Fan Motor.
- If voltage missing, check wiring. If wiring good, suspect the Main Control Board.
E15: Condenser Fan Error
- Meaning: Indicates a problem with the condenser fan motor located near the compressor at the back/bottom of the unit (not present on all models).
- Troubleshooting Steps:
- Check Connections: Access the rear lower panel. Inspect the condenser fan wiring (board and motor).
- Check for Obstructions: Check for dust buildup, debris, or wiring obstructing the fan blade. Ensure it spins freely. Clean if necessary.
- Check Voltage & Feedback (Advanced): Check for
~12 V DCsupply and feedback voltage (~2.4 V DCtypical) when the fan should run (usually when compressor is running). - Determine Fault:
- If obstructed/dirty, clean it.
- If voltage present but fan faulty, replace the Condenser Fan Motor.
- If voltage missing, check wiring. If wiring good, suspect the Main Control Board.
Alarm Icon / High Temperature Warning
- Meaning: This indicator (often a bell or exclamation mark icon) lights up due to several possible reasons, primarily indicating temperatures are too high inside one or more compartments.
- Potential Causes:
- High temperature detected by sensors (e.g., after initial power-on, loading warm food, door left ajar).
- Extended power outage.
- Occurrence of one of the other error codes (E0-E15).
- Poor door sealing (worn/dirty gaskets).
- Dirty condenser coils (preventing heat dissipation).
- Malfunction in the sealed system (compressor, refrigerant leak, valve issue – less common).
- Troubleshooting Steps:
- Acknowledge Alarm: Press the
Alarm Offbutton to silence the audible alarm (if applicable) and potentially turn off the indicator light temporarily. - Check Doors: Ensure all doors are fully closed and the gaskets are clean and making a good seal.
- Wait: If the fridge was recently powered on, loaded, or doors were open, allow several hours (6-8) for temperatures to stabilize. The alarm should clear on its own if the cause was temporary.
- Check for Other Errors: See if any
Ecodes are displayed simultaneously. Address those first. - Clean Condenser Coils: Disconnect power. Locate the condenser coils (usually at the back or underneath). Clean off dust and debris using a vacuum cleaner with a brush attachment.
- Reset (Temporary Fix): Try resetting error flags by entering and immediately exiting the Service Mode (see separate guide). This clears temporary warnings but won’t fix an underlying issue.
- Monitor: If the alarm icon returns after 6-8 hours despite doors being closed and coils clean, it suggests a more persistent problem.
- Seek Professional Help: If the issue persists, especially if cooling performance is poor, suspect a potential sealed system problem (compressor, refrigerant leak, valve) or a persistent sensor/board issue. This requires diagnosis by a qualified technician.
- Acknowledge Alarm: Press the
Final Note: Always prioritize safety. Referencing your specific BEKO model’s service manual can provide more precise information.