Decoding Your Frigidaire FFTW4120SW Washer: Error Codes & Troubleshooting Guide
Seeing an error code flash on your Frigidaire FFTW4120SW top-load washer can be frustrating, but it’s actually the machine’s way of telling you what might be wrong. These codes are designed to help pinpoint issues, often allowing for simple fixes you can do yourself. This guide will walk you through common Frigidaire FFTW4120SW washer error codes, explain what they mean, and provide steps to troubleshoot them.
Safety First! Before attempting any troubleshooting or inspection that involves accessing internal parts, always unplug your washing machine from the power outlet to prevent electrical shock.
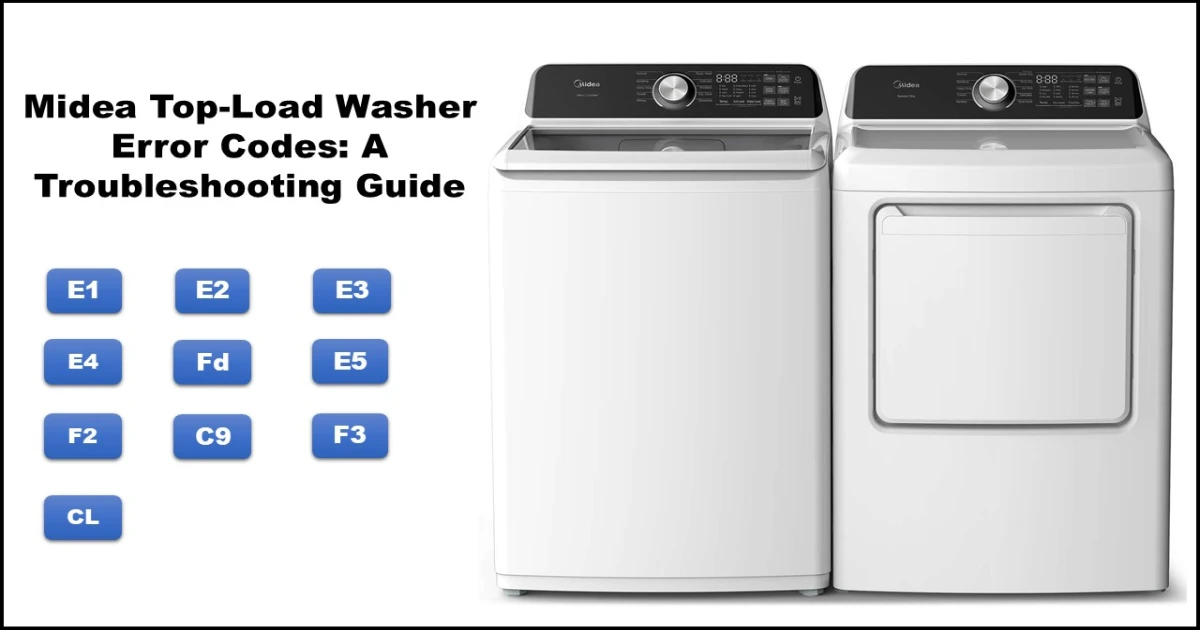
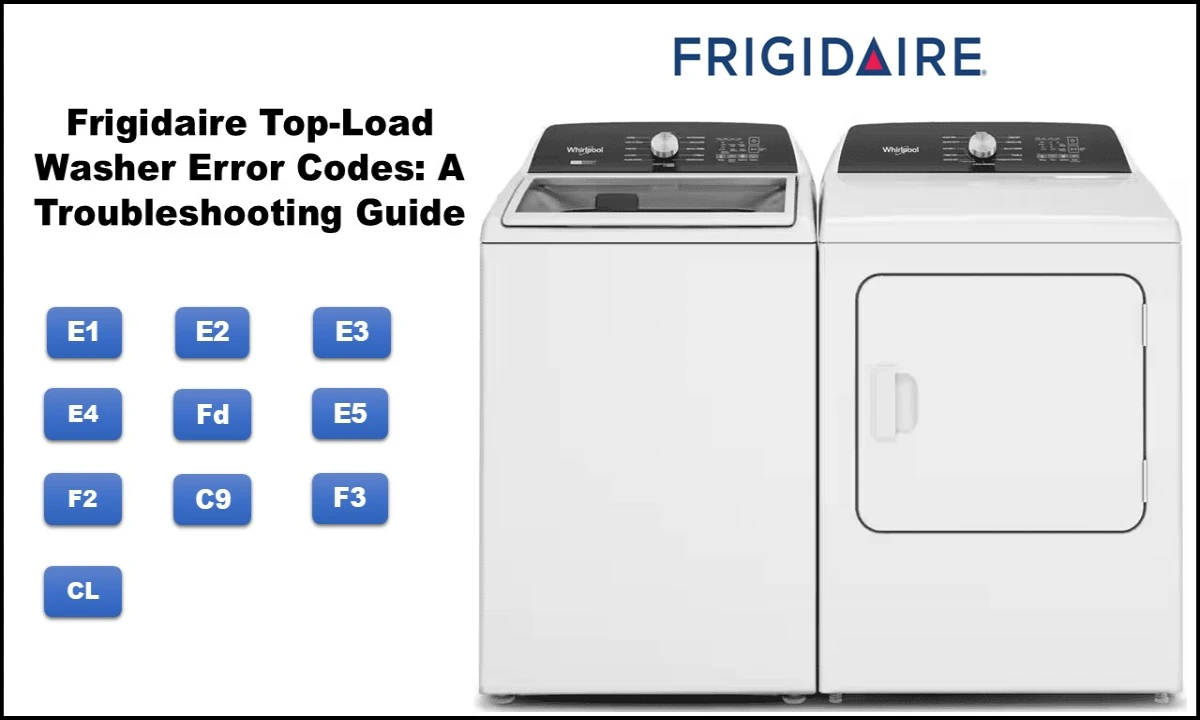
Frigidaire FFTW4120SW Error Code Summary
| Error Code | Meaning | Brief Description |
|---|---|---|
| E1 | Inlet Valve Error | Problem filling the washer with water. |
| E2 | Drain Pump Error | Problem draining water from the washer. |
| E3 | Lid Open Error | Washer detects the lid as being open. |
| Fd | Lid Lock Error | Problem with the lid locking mechanism. |
| E4 | Spin Unbalance Error | Laundry load is uneven, causing excessive vibration. |
| E5 | Washer Not Level Error | The washing machine itself is not level. |
| F2 | EEPROM Error | Issue with the main control board’s memory. |
| C9 | Main Board Failure Error | Functional failure of the main electronic control board. |
| F3 | Water Level Sensor Error | Problem with the sensor that detects the water level. |
| CL | Child Lock / Control Lock (Notification) | Control Lock feature is activated (not a fault error). |
Note: This table provides a quick overview. Refer to the detailed troubleshooting steps in the main guide below for potential causes and solutions for each code.
Common Frigidaire FFTW4120SW Washer Error Codes Explained
Here’s a breakdown of common error codes you might encounter:
E1: Inlet Valve Error
- What it Means: The washer is having trouble filling with water.
- Symptoms: The wash cycle may not start, or the tub doesn’t fill with water as expected.
- Potential Solutions:
- Unplug the washer.
- Check Water Supply: Ensure both hot and cold water faucets connected to the washer are fully open. Check that your home’s water pressure isn’t unusually low.
- Inspect Hoses & Filters: Look for kinks in the water inlet hoses. Unscrew the hoses from the back of the washer and check the small filter screens inside the connection points. Clean them if they are clogged with sediment.
- Examine Wiring: Check the wire harness connection to the water inlet valve for loose or damaged wires.
- Check Water Level Sensor: Issues with the water level sensor (see F3 error) can sometimes manifest as filling problems.
- (Advanced Check – Requires Multimeter): Measure the resistance of the water inlet valve. It should be approximately 1650Ω (Ohms) at 120Vac. If the reading is significantly different, the valve may need replacement.
- (Requires Professional Diagnosis): If the above steps don’t resolve the issue, the water level sensor or the main control board might be faulty and require replacement.
E2: Drain Pump Error
- What it Means: The washer is not draining water correctly.
- Symptoms: Water remains in the tub after the cycle should have drained.
- Potential Solutions:
- Unplug the washer.
- Inspect Drain Hose: Ensure the drain hose is not kinked, clogged, or positioned too high (check your manual for correct height). Check where it drains (standpipe, sink) for blockages.
- Clean Pump Filter (if accessible): Some models have a filter near the drain pump that can trap lint and small objects. Check your manual for its location and cleaning instructions.
- Examine Wiring: Check the wire harness connections to the drain pump and retractor (if applicable) for loose or damaged wires.
- Inspect Air Chamber/Tube: Check the tube running from the tub to the water level sensor for blockages or kinks.
- Check Retractor (if applicable): This component engages the drain/spin mechanism. Listen for its operation; if faulty, it may prevent draining.
- (Advanced Check – Requires Multimeter): Measure the resistance of the drain pump. It should be approximately 16Ω (Ohms) at 120Vac. If the reading is significantly different, the pump may need replacement.
- (Requires Professional Diagnosis): Persistent draining issues could point to a faulty water level sensor or the main control board.
E3: Lid Open Error / Fd: Lid Lock Error
- What it Means: E3 indicates the washer thinks the lid is open. Fd indicates a problem with the lid locking mechanism. The washer won’t operate (or spin) if it doesn’t detect the lid is securely closed and locked.
- Symptoms: The washer won’t start, or stops mid-cycle (especially before spin). The display shows E3 or Fd.
- Potential Solutions:
- Unplug the washer.
- Check Lid: Ensure the lid is fully closed and there’s nothing obstructing it.
- Inspect Lid Switch/Lock Assembly: Look for physical damage to the lid switch (often a small plastic piece on the lid that presses a switch on the body) or the lock mechanism. Clean the area around the switch/lock.
- Examine Wiring: Check the wire harness connection to the lid lock assembly for loose or damaged wires.
- (Advanced Check – Requires Multimeter): Test the lid switch components for continuity. Measure the resistance of the lid lock assembly; it should be approximately 65Ω (Ohms). If readings are incorrect or the assembly is damaged, it likely needs replacement.
- (Requires Professional Diagnosis): If the lid and lock seem fine, the issue might be with the main control board.
E4: Spin Unbalance Error / E5: Washer Not Level Error
- What it Means: E4 signals the load is unevenly distributed, causing excessive vibration during spin. E5 indicates the machine itself is not level. Both prevent high-speed spinning to avoid damage.
- Symptoms: The washer stops before or during the spin cycle, potentially after trying to spin several times. Excessive shaking or banging occurs.
- Potential Solutions:
- Redistribute Load: Open the lid and manually rearrange the clothes more evenly around the wash plate or agitator. Avoid washing single heavy items alone.
- Check Level: Ensure the washing machine is level both front-to-back and side-to-side. Adjust the leveling legs underneath the washer as needed, ensuring all feet are firm on the floor.
- Unplug the washer.
- Inspect Suspension System: If the washer is level and balanced loads still trigger the error, the suspension rods (which support the tub) might be weak or damaged. Check if the tub feels unusually loose or sags. Replacement might be necessary.
- Check Balance Ring (if applicable): Some models have a liquid-filled ring at the top of the tub to help balance. If this leaks or is damaged, it can cause imbalance.
- (Advanced Check – Requires Multimeter): Test the out-of-balance/impact switch. It should show continuity (near 0 Ω) when not engaged and infinite resistance (OL) when pushed/engaged (or vice-versa depending on design – check behavior). If it fails this test, replace it.
F2: EEPROM Error / C9: Main Board Failure Error
- What it Means: These codes indicate a communication or functional failure within the washer’s main electronic control board (the “brain”).
- Symptoms: The washer may not power on, behave erratically, or display the code consistently. Cycles may not start or complete.
- Potential Solutions:
- Power Cycle: Try unplugging the washer for 5-10 minutes, then plugging it back in. This can sometimes reset minor glitches.
- Requires Professional Diagnosis: Unfortunately, F2 and C9 errors almost always mean the main control board has failed and needs to be replaced by a qualified technician.
F3: Water Level Sensor Error
- What it Means: There’s a problem with the sensor that detects how much water is in the tub.
- Symptoms: The washer might overfill, underfill, or not fill/drain correctly. The error code appears on the display.
- Potential Solutions:
- Unplug the washer.
- Inspect Sensor Hose: Locate the thin plastic tube running from the side/bottom of the outer tub up to the water level sensor (usually a small part connected near the control panel). Ensure this tube is securely connected at both ends and is not kinked, cracked, or blocked with debris. Sometimes blowing gently through it (after disconnecting from the sensor) can clear minor blockages.
- Clean Air Chamber: The port where the hose connects to the tub (the air chamber) can sometimes get clogged with detergent residue. Clean it carefully if accessible.
- Examine Wiring: Check the wire harness connection between the main board and the water level sensor for loose or damaged wires.
- (Advanced Check – Requires Multimeter/Capacitance Meter): Test the water level sensor. Resistance between pins 1 & 3 should be ~20-40 Ω. Capacitance between pins 1&2 and 2&3 should be ~40-50 nF. If readings are off, the sensor likely needs replacement.
- (Requires Professional Diagnosis): If the sensor and hose are okay, the main control board could be the issue.
CL: Child/Control Lock Notification
- What it Means: This isn’t an error, but an indicator that the Control Lock feature (which prevents accidental button presses) is active.
- Symptoms: Buttons won’t respond, and “CL” is shown on the display.
- Solution:
- Press and hold the “Soil Level” and “Temp” buttons simultaneously for about 3 seconds. The “CL” notification should disappear, and the controls will function normally.
Using the Diagnostic Test Mode (Advanced Troubleshooting)
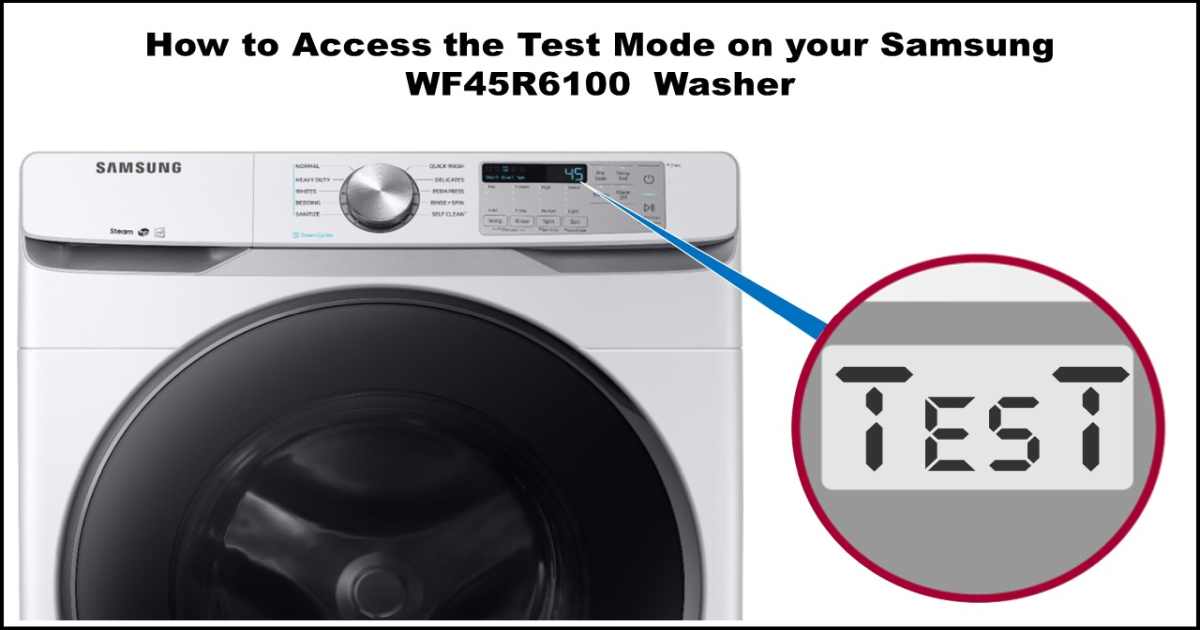
Your Frigidaire FFTW4120SW washer has a built-in test mode, primarily used by technicians but accessible to users for more in-depth checks.
Important:
- Empty the Washer: Ensure the tub is completely empty before entering test mode. Items inside can affect results.
- Stable & Level: Confirm the washer is stable and level.
How to Enter Test Mode:
- Press and hold the “Soak”, “Extra Rinse”, and “Power” buttons simultaneously for 3 seconds or less.
- Successful entry is indicated by: “88” on the display, all LEDs flashing, and six beeps.
- If these indicators don’t appear, the main control board might be faulty.
Running Specific Tests:
- To run individual function tests, you first need to enter test mode (as above), then turn the washer OFF using the Power button.
- Re-enter test mode (Soak + Extra Rinse + Power for ~3 sec).
- Within 4 seconds of seeing the “88” display, press the corresponding button for the desired test:
- Washing Test (Motor/Agitator): Press “Soil Level”. (Runs ~3 min).
- Spinning Test (Drain Pump/High-Speed Spin): Press “Temp”. (Runs ~3 min).
- Water Inlet Valve Test: Press “Fabric Softener”. (Checks all valves, displays software version, runs ~1 min).
- Auto-Sensing Test: Press “Delay”. (Checks sensing function, displays results after a few seconds. Do not exit early).
- During each test, specific cycle and progress LEDs will light up. The test ends with the “DONE” LED blinking and six beeps. The lid will unlock.
- You can usually exit any test early by pressing the “Power” button.
How to Exit Test Mode:
- Simply turn the washer off using the “Power” button.
When to Call a Professional Technician
While many error codes point to fixable issues, it’s best to call a qualified appliance repair technician if:
- You’ve tried the basic troubleshooting steps, and the error persists.
- You encounter errors pointing to main board failure (F2, C9).
- You are uncomfortable performing any of the checks, especially those involving electrical components or disassembly.
- The washer is exhibiting dangerous behavior (loud noises, smoking, sparking).
- Multiple error codes appear, or the issue is intermittent and hard to diagnose.
Conclusion
Frigidaire error codes are valuable tools for diagnosing problems with your FFTW4120SW washer. By understanding what your Frigidaire FFTW4120SW washer error codes. mean and following these troubleshooting steps, you can often resolve issues quickly and get your appliance back to work.
